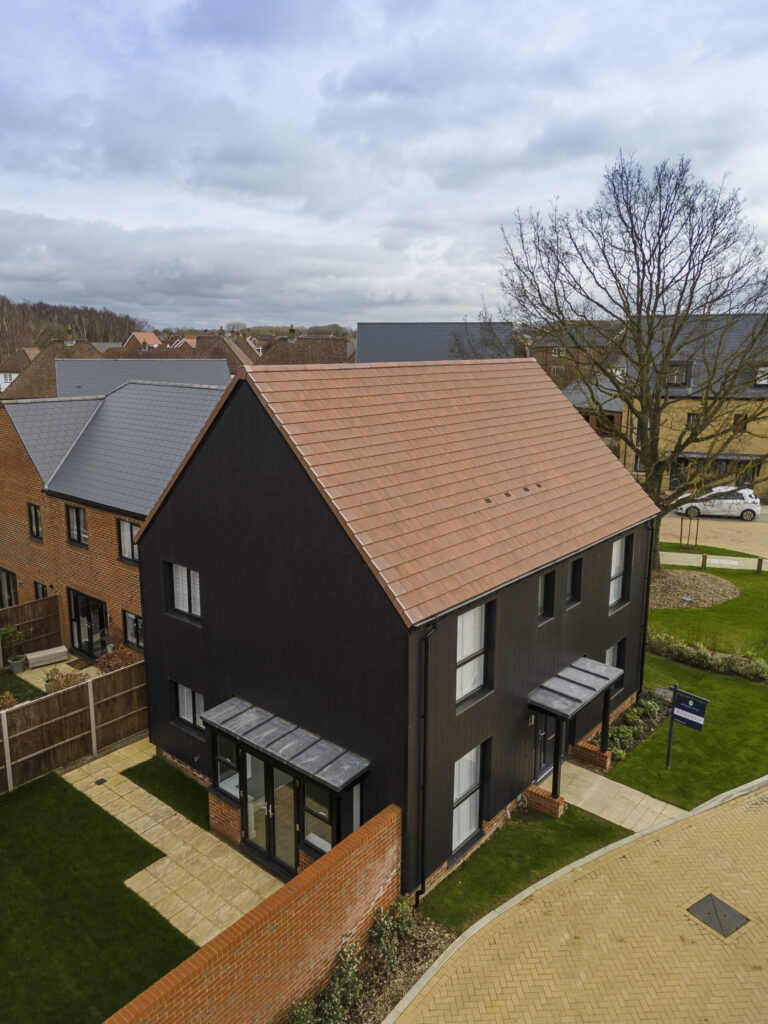
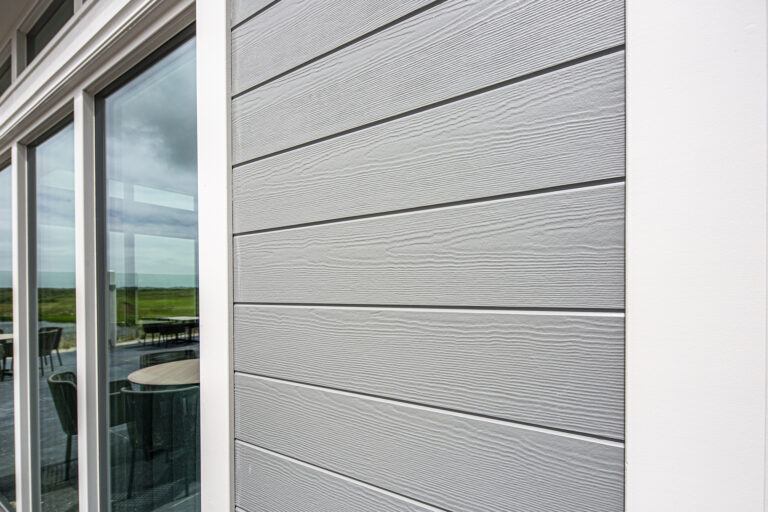
James Hardie cladding is one of the most reliable and hard-wearing external cladding systems available in the UK. Installed properly, it looks sharp and lasts for years with minimal maintenance.
However, we speak to customers every day and see the same James Hardie installation issues cropping up time and time again. None of them are complicated, but they do make a noticeable difference to the finish and long-term performance.
Here are the most common James Hardie installation mistakes and how to avoid them.
1) Not Painting the Cut Edges
Every time you cut a Hardie board, you expose the inner material.
Leaving those edges untreated can allow moisture to penetrate over time, which can affect both appearance and durability.
What to do instead:
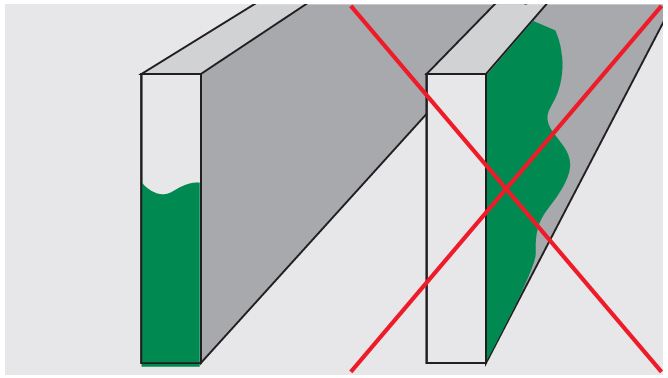
Always seal cut edges using the recommended touch-up paint. It only takes a moment and protects the integrity of the board. Also, in every case do not get paint on the face of the board and wipe it off if you do. Painting the face for touch ups is sometimes needed but use sparingly. Please see below.
2) Not Ventilating Properly
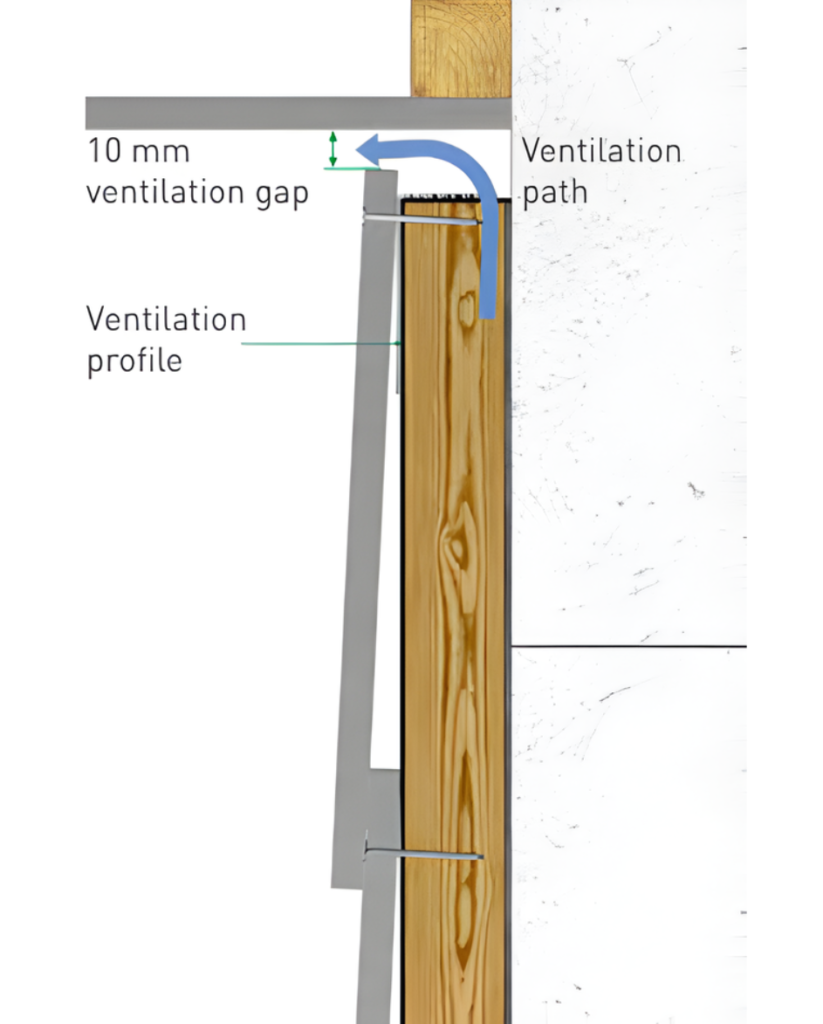
Ventilation is a critical part of any cladding system.
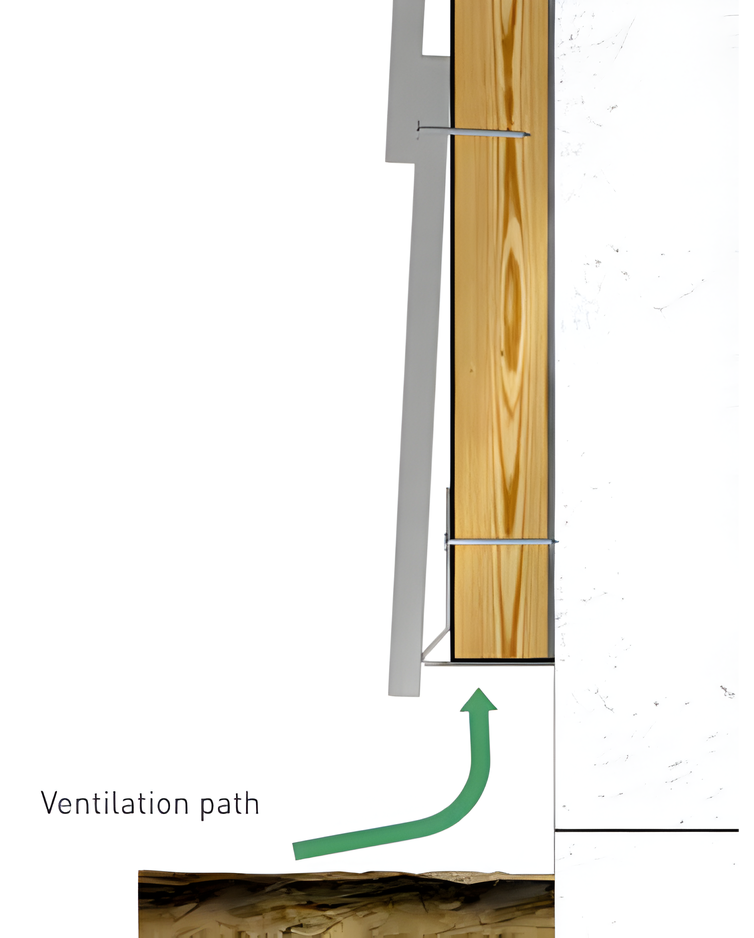
Without adequate airflow behind the boards, moisture will build, which can lead to structural issues and reduce the lifespan of the installation.
What to do instead:
Ensure proper ventilation is built into the system in line with installation guidelines. This isn’t an optional extra — it’s essential. We stock all 3 James Hardie vents in 25mm, 38mm and 50mm widths.
3) Installing Boards Too Close to the Ground
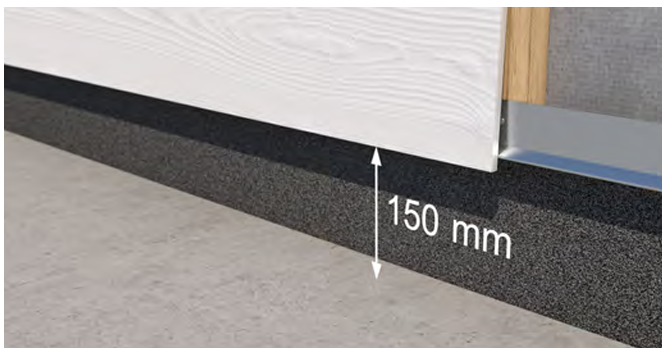
Fixing cladding too low exposes it to constant moisture, dirt and splashback from rain.
Over time, this can affect both the look and performance of the boards.
What to do instead:
Maintain the correct ground clearance of 150mm. It helps protect the installation from unnecessary wear.
4) Incorrect Fixing Positioning and Spacing
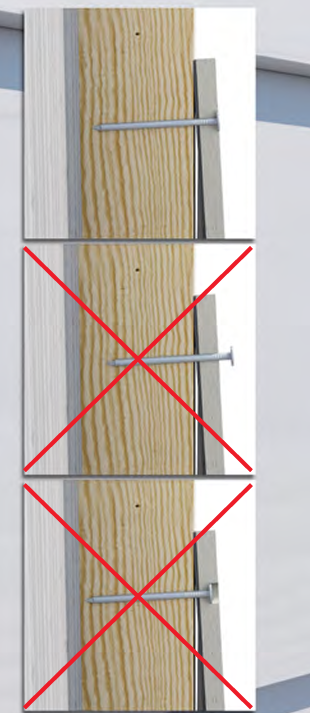
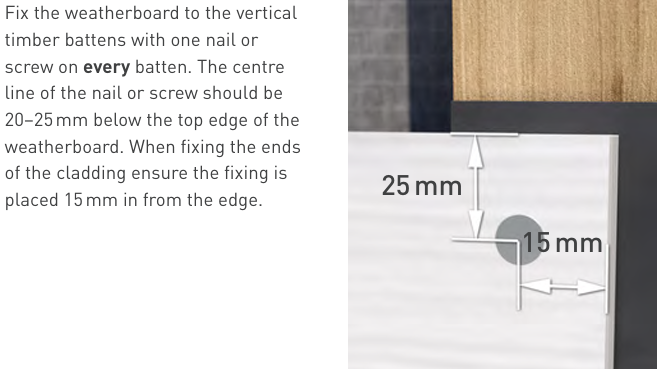
Correct usage and positioning of screws is vital in ensuring a correct installation process, if done poorly boards can rattle or come loose.
Hardie® Plank weatherboard can easily be gun nailed. It is essential that the pressure of the gun is adjusted so the fixing will sit flush with the board surface. If incorrect the product can be damaged and not hold sufficiently
What to do instead:
Follow recommended spacing and alignment guidelines carefully to achieve a clean, consistent fit.
5) Not Using EPDM Tape Behind Joints
Joints are one of the most vulnerable points in any cladding system.
Without proper protection, water can track behind the boards and cause issues over time.
What to do instead:
Install EPDM tape behind all joints to provide an additional layer of protection against moisture ingress. Buy here.
6) Not Using Squaredeal Easy Fit Trims
We’d be doing ourselves a disservice if we didn’t include this one.
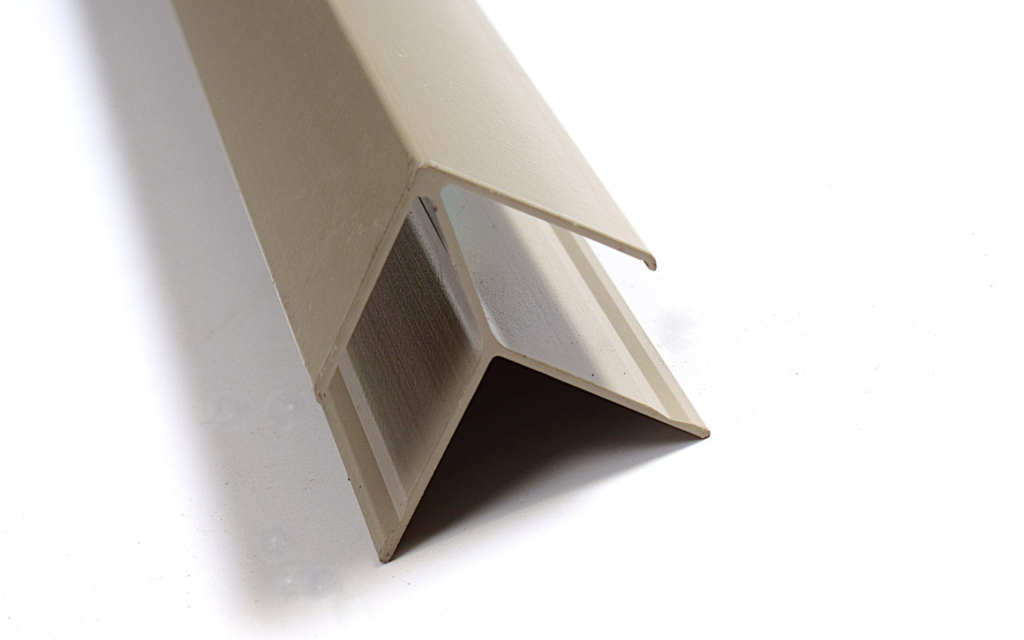
Our Easy-Fit Trims (Buy Here) are made from high-quality, colour-matched aluminium and:
- Give a much cleaner, more professional finish
- Protect the edges of the planks
- Hide all those little cut imperfections
- Allow for natural movement in the boards
They also include an asymmetric corner trim, which you won’t find in the standard Hardie range.
James Hardie cladding isn’t difficult to install — but it does reward attention to detail.
Getting the small things right makes the difference between:
- A clean, professional finish
- And a job that looks slightly off (or doesn’t last as long as it should)
If you’re planning a project and want to get it right first time, it’s always worth checking the details before you start.
A bit of care early on saves a lot of hassle later.